If you're new to Shopify, you might wonder how to make your store "live." In other words, how do you make it so that people can find your store and purchase your products?
This article looks at a few key steps you need to take before making your Shopify store live. I'll also show you how to make your Shopify store live so customers can access your store and purchase your products!
Table of Contents
Choose a Theme
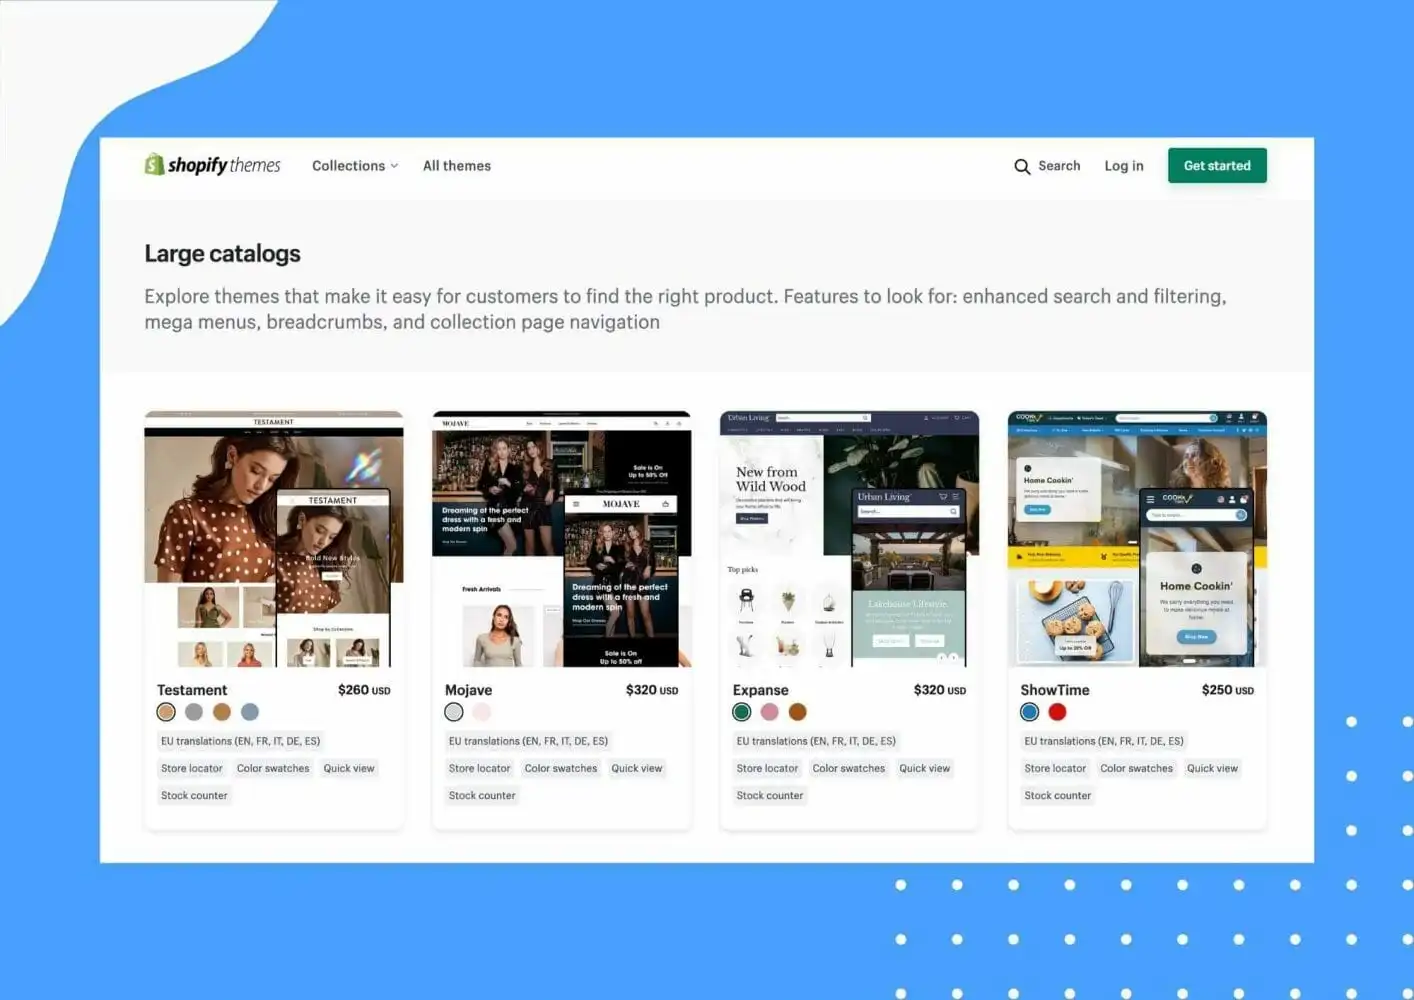
The first step to making your Shopify store live is to choose a theme. Your theme determines the overall look and feel of your store. It's essential to take some time to browse the available options and pick one that best represents your brand.
Shopify has a wide range of free and paid themes available, so you should be able to find an option that fits your needs. Once you've chosen a theme, you can customize it with your brand's logo, fonts, and colors.
If you run a bakery, check out our breakdown of the 9 best Shopify themes for bakeries!
Add Your Products
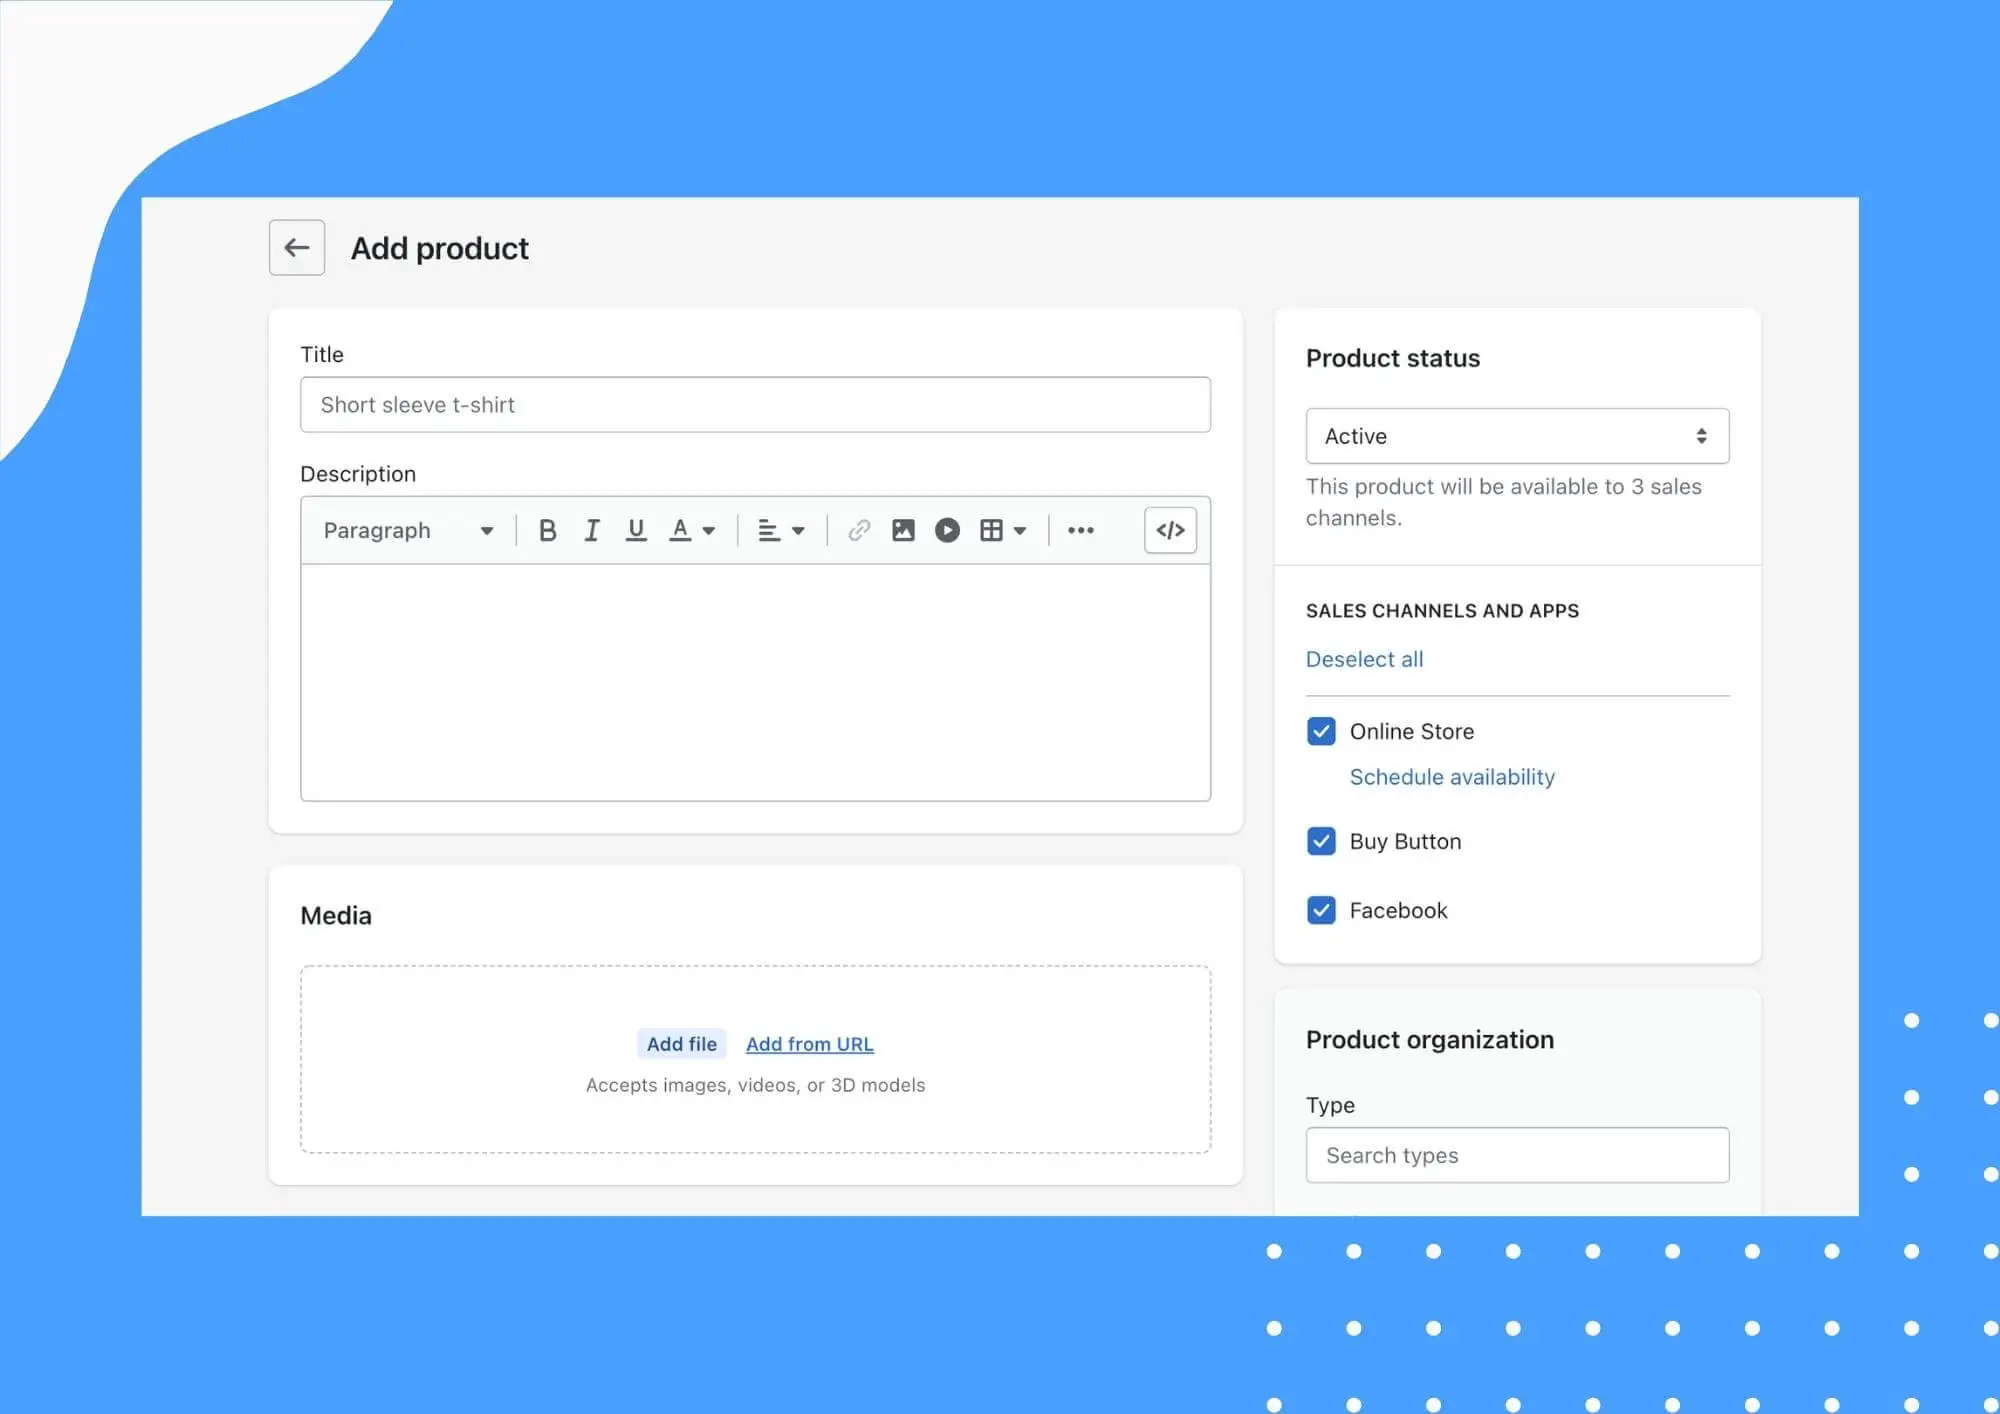
Your Shopify store is pointless without products to sell! You'll need to add the names, descriptions, photos, and pricing information for each item you sell.
If you're selling physical goods, you'll also want to add weights and dimensions for each product to help accurately determine shipping rates. Shopify makes it easy to set up shipping methods and calculate shipping rates.
Set Up Payment Methods
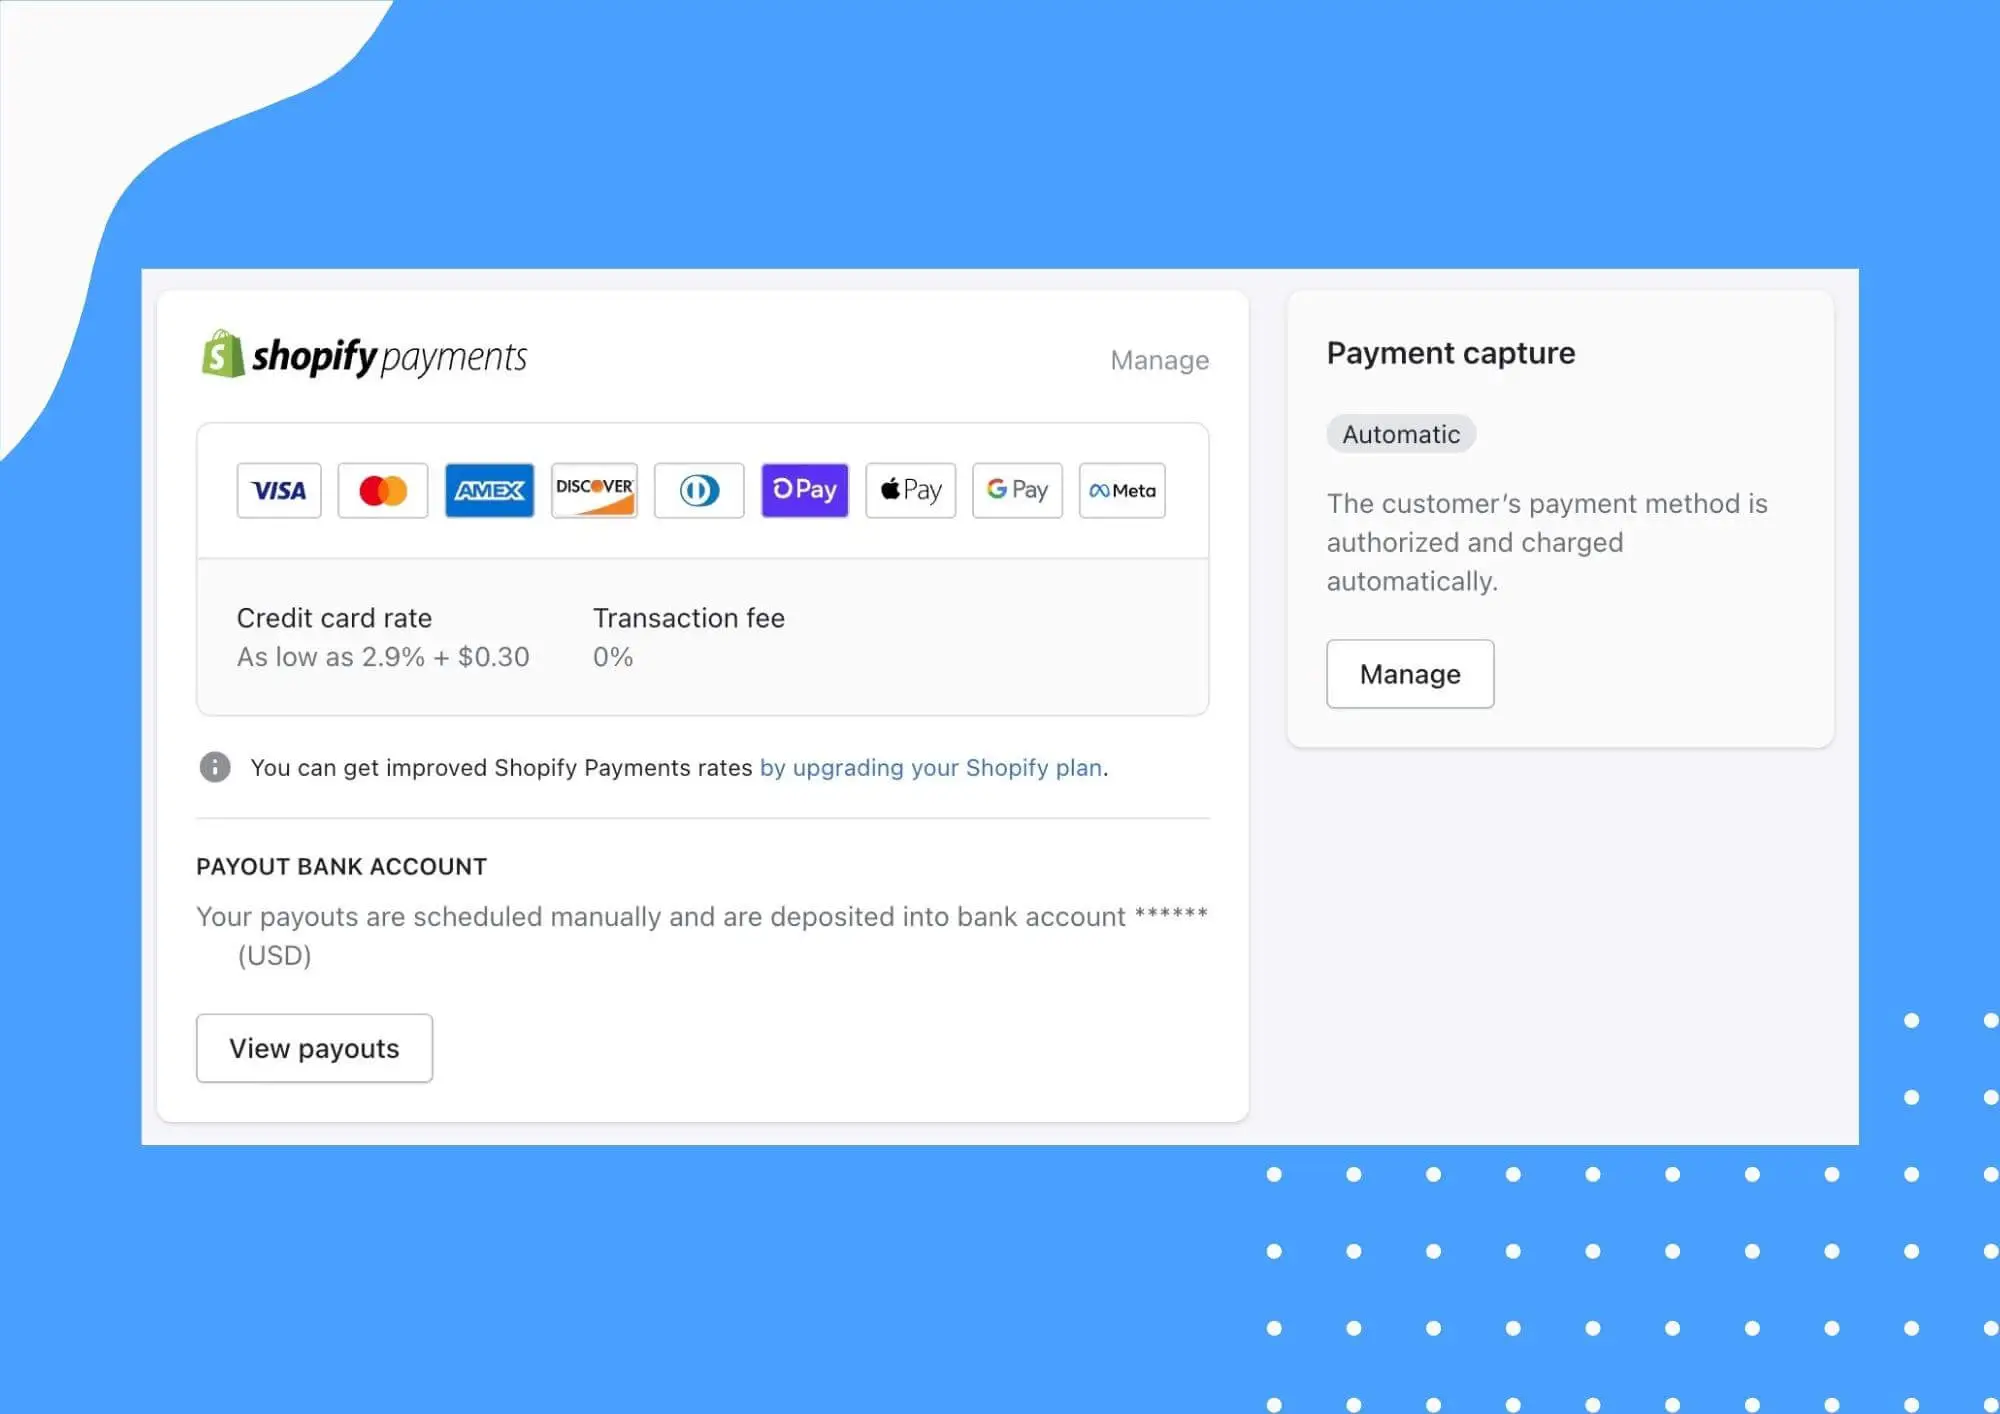
You'll need to set up a payment provider to accept payments from your customers. Shopify offers a wide variety of payment methods to choose from, including:
- Credit and debit cards (using a gateway like Shopify Payments or Stripe)
- Shop Pay
- Apple Pay
- Google Pay
- Amazon Pay
- PayPal
- Direct bank transfer
- Cash on delivery
- Shopify POS Swipe
- Third-party payment providers
After choosing a payment gateway, you can enter your account information within Shopify settings.
Choose a Domain Name
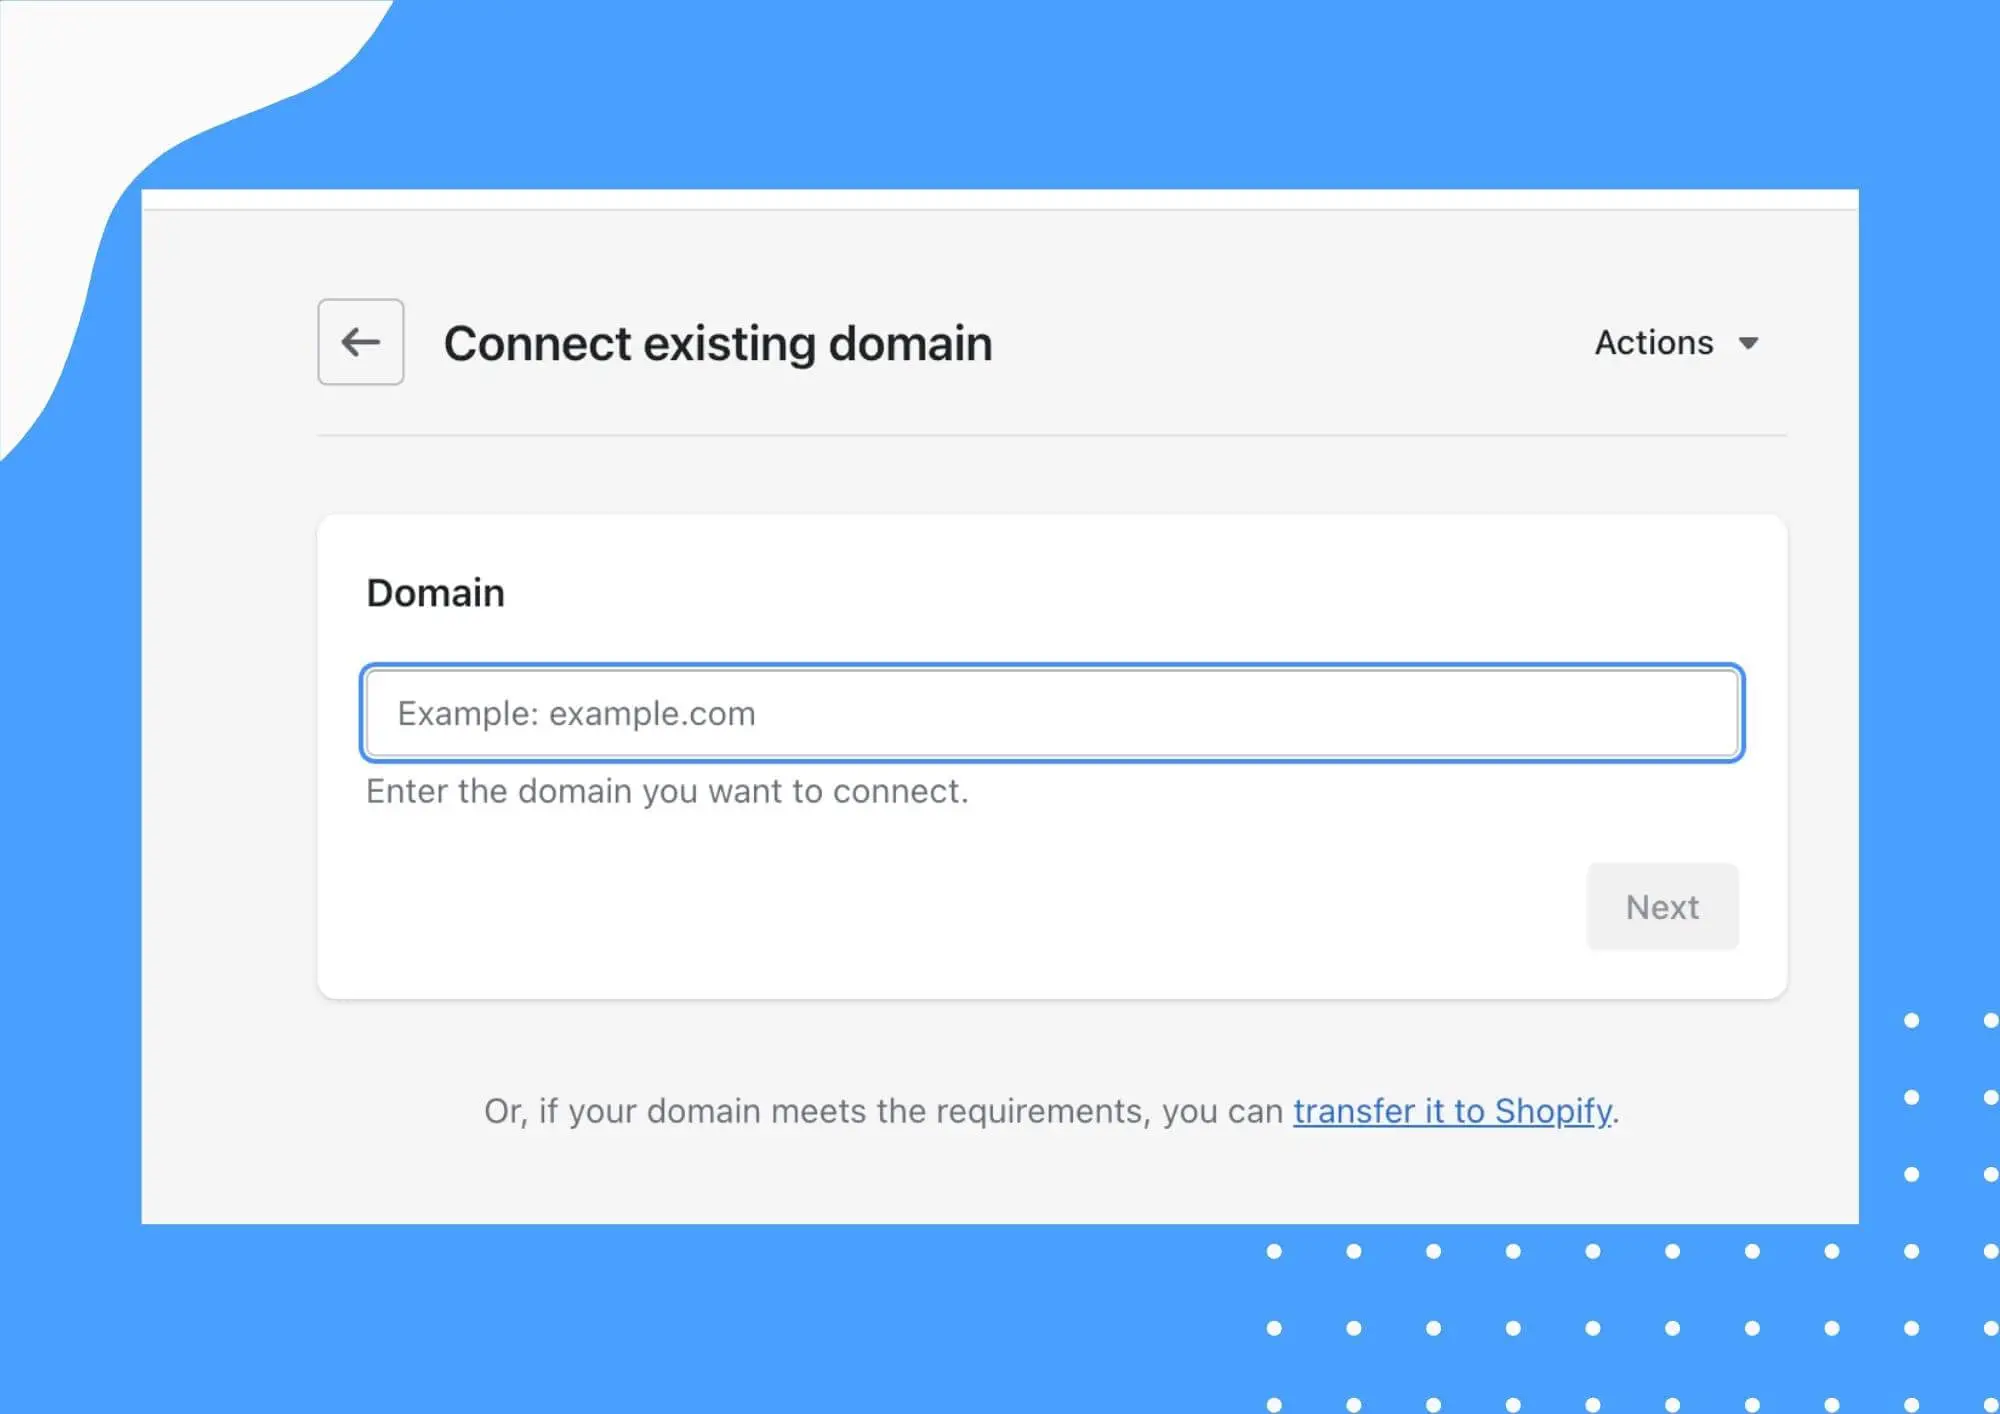
Your domain name is the URL people will type into their browser to visit your store. For example, our domain name is adaptyvedigital.com.
If you don't already have a domain name, you will need to purchase one. You can buy a domain name through Shopify or a domain name registrar, like Namecheap. After purchasing a domain name, you'll need to point it to your Shopify store.
Configure Shipping Methods
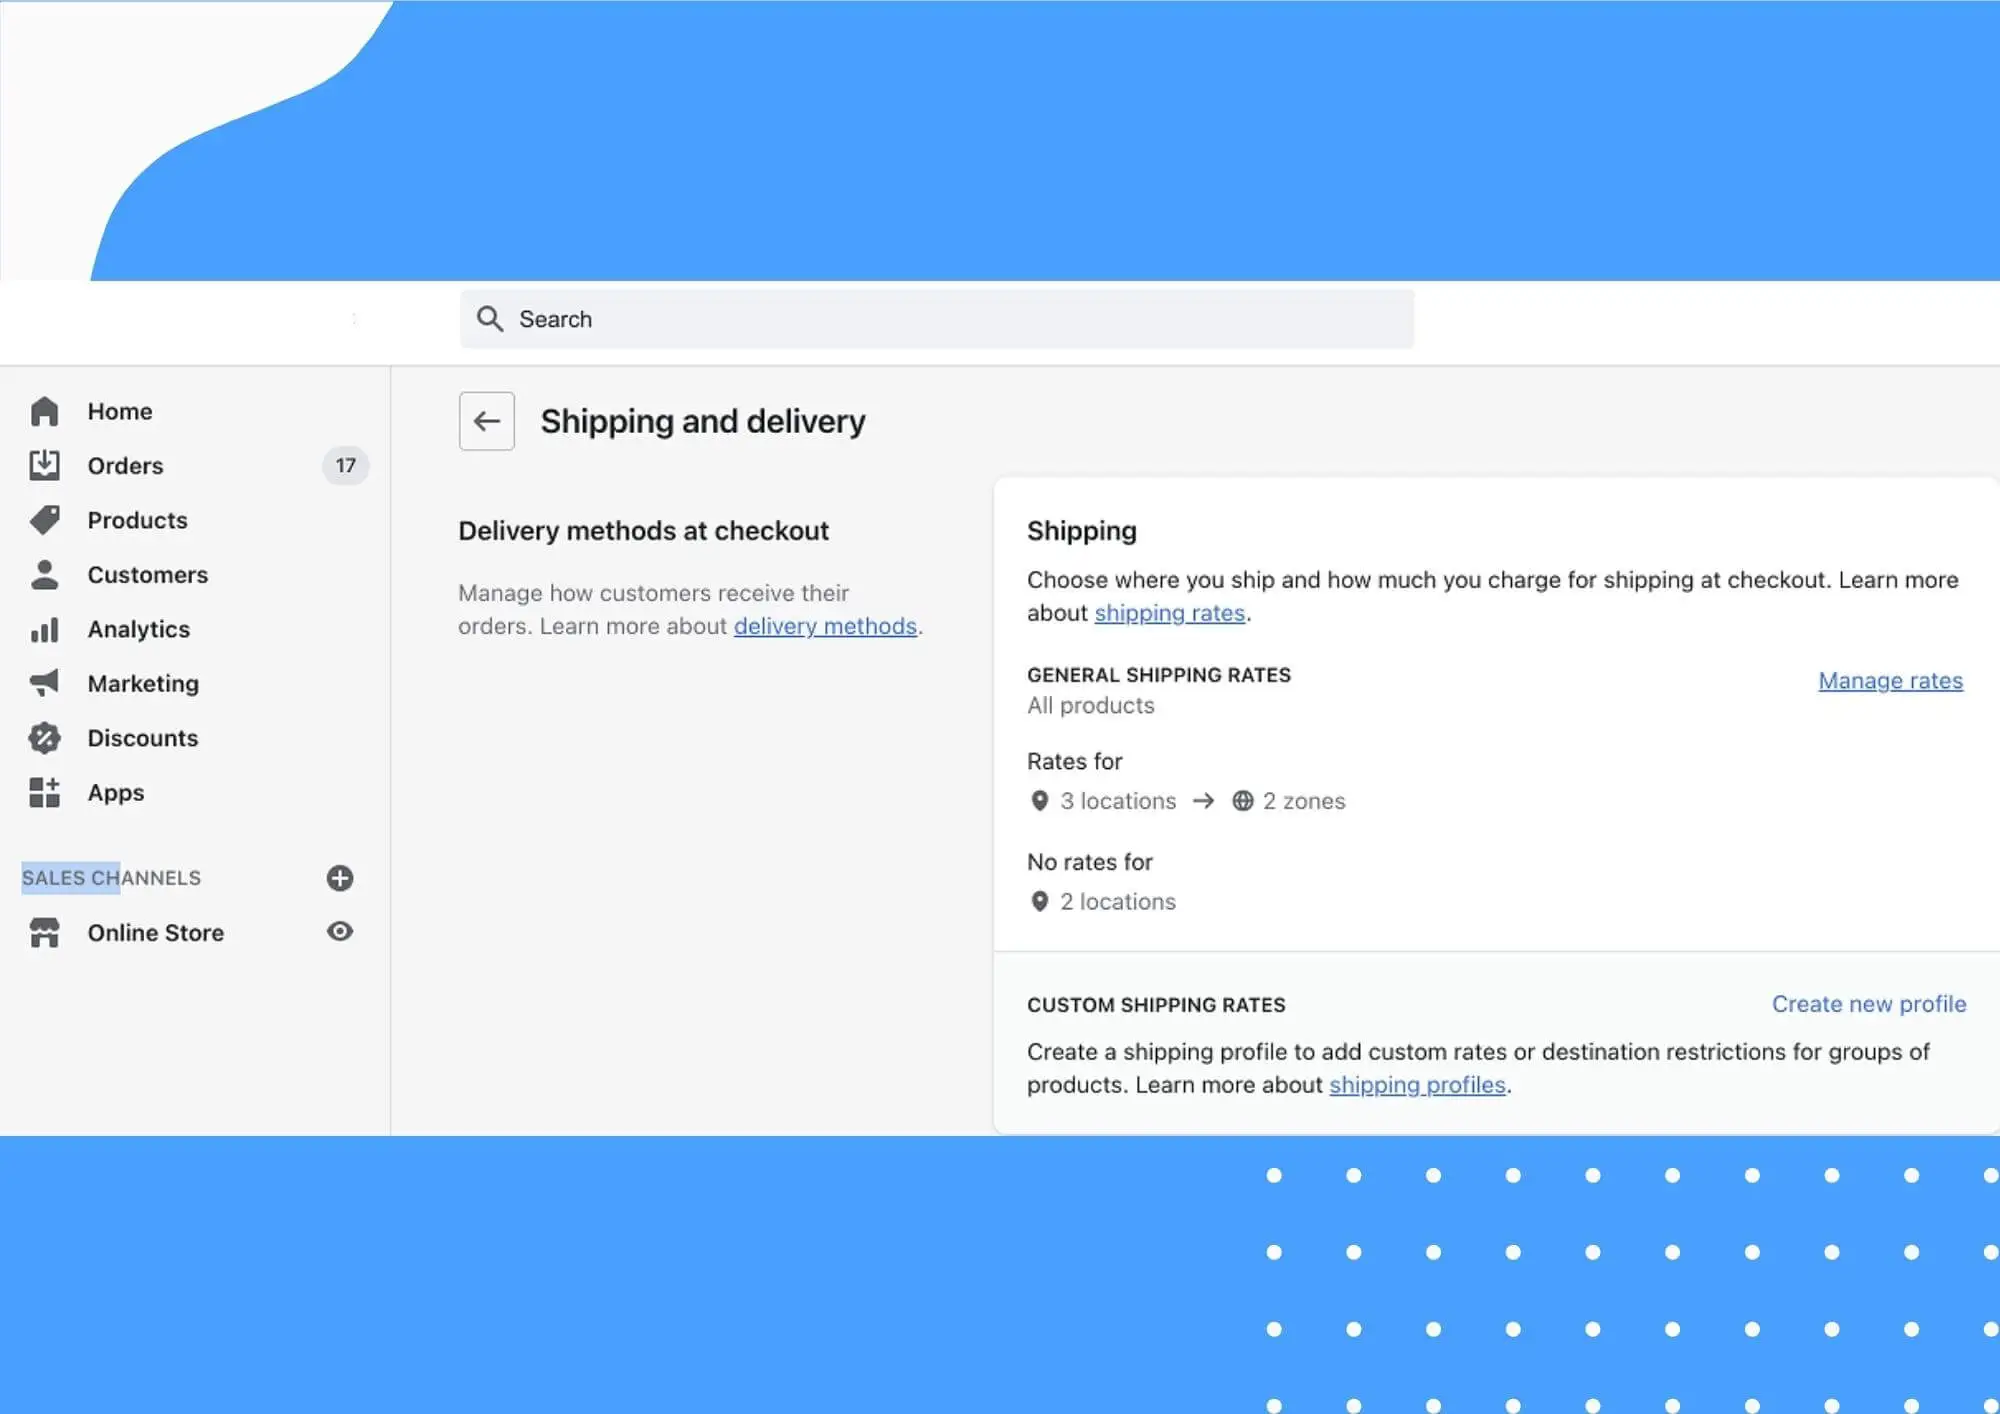
You'll need to configure your shipping options and rates if you plan on selling and shipping physical goods. You can do this in Shopify by navigating to your Shopify Admin dashboard, clicking Settings, then Shipping and delivery.
There are a few different options you can choose for shipping rates:
- Flat rate: You can charge a fixed price for shipping, regardless of the order size or destination.
- Free shipping: You can offer free shipping on all orders or only on orders over a certain amount.
- Weight-based: Your shipping rates can be calculated based on the weight of the products in the order.
- Pricing-based: Your shipping rates can be calculated based on the total price of the order.
- Location-based: Your shipping rates can be calculated based on the customer's location.
- Carrier or app rates: You can have a carrier (UPS, FedEx, USPS, etc.) or third-party app calculate shipping rates.
Once you've configured your shipping rates, customers will see the different shipping methods and prices during checkout. Displaying shipping options and prices lets customers know exactly how much they need to pay for shipping before they complete their purchase.
Finally, if you have a physical retail location, you can offer in-store pickup and other options for local customers.
Confirm Checkout, Accounts, and Payout Settings
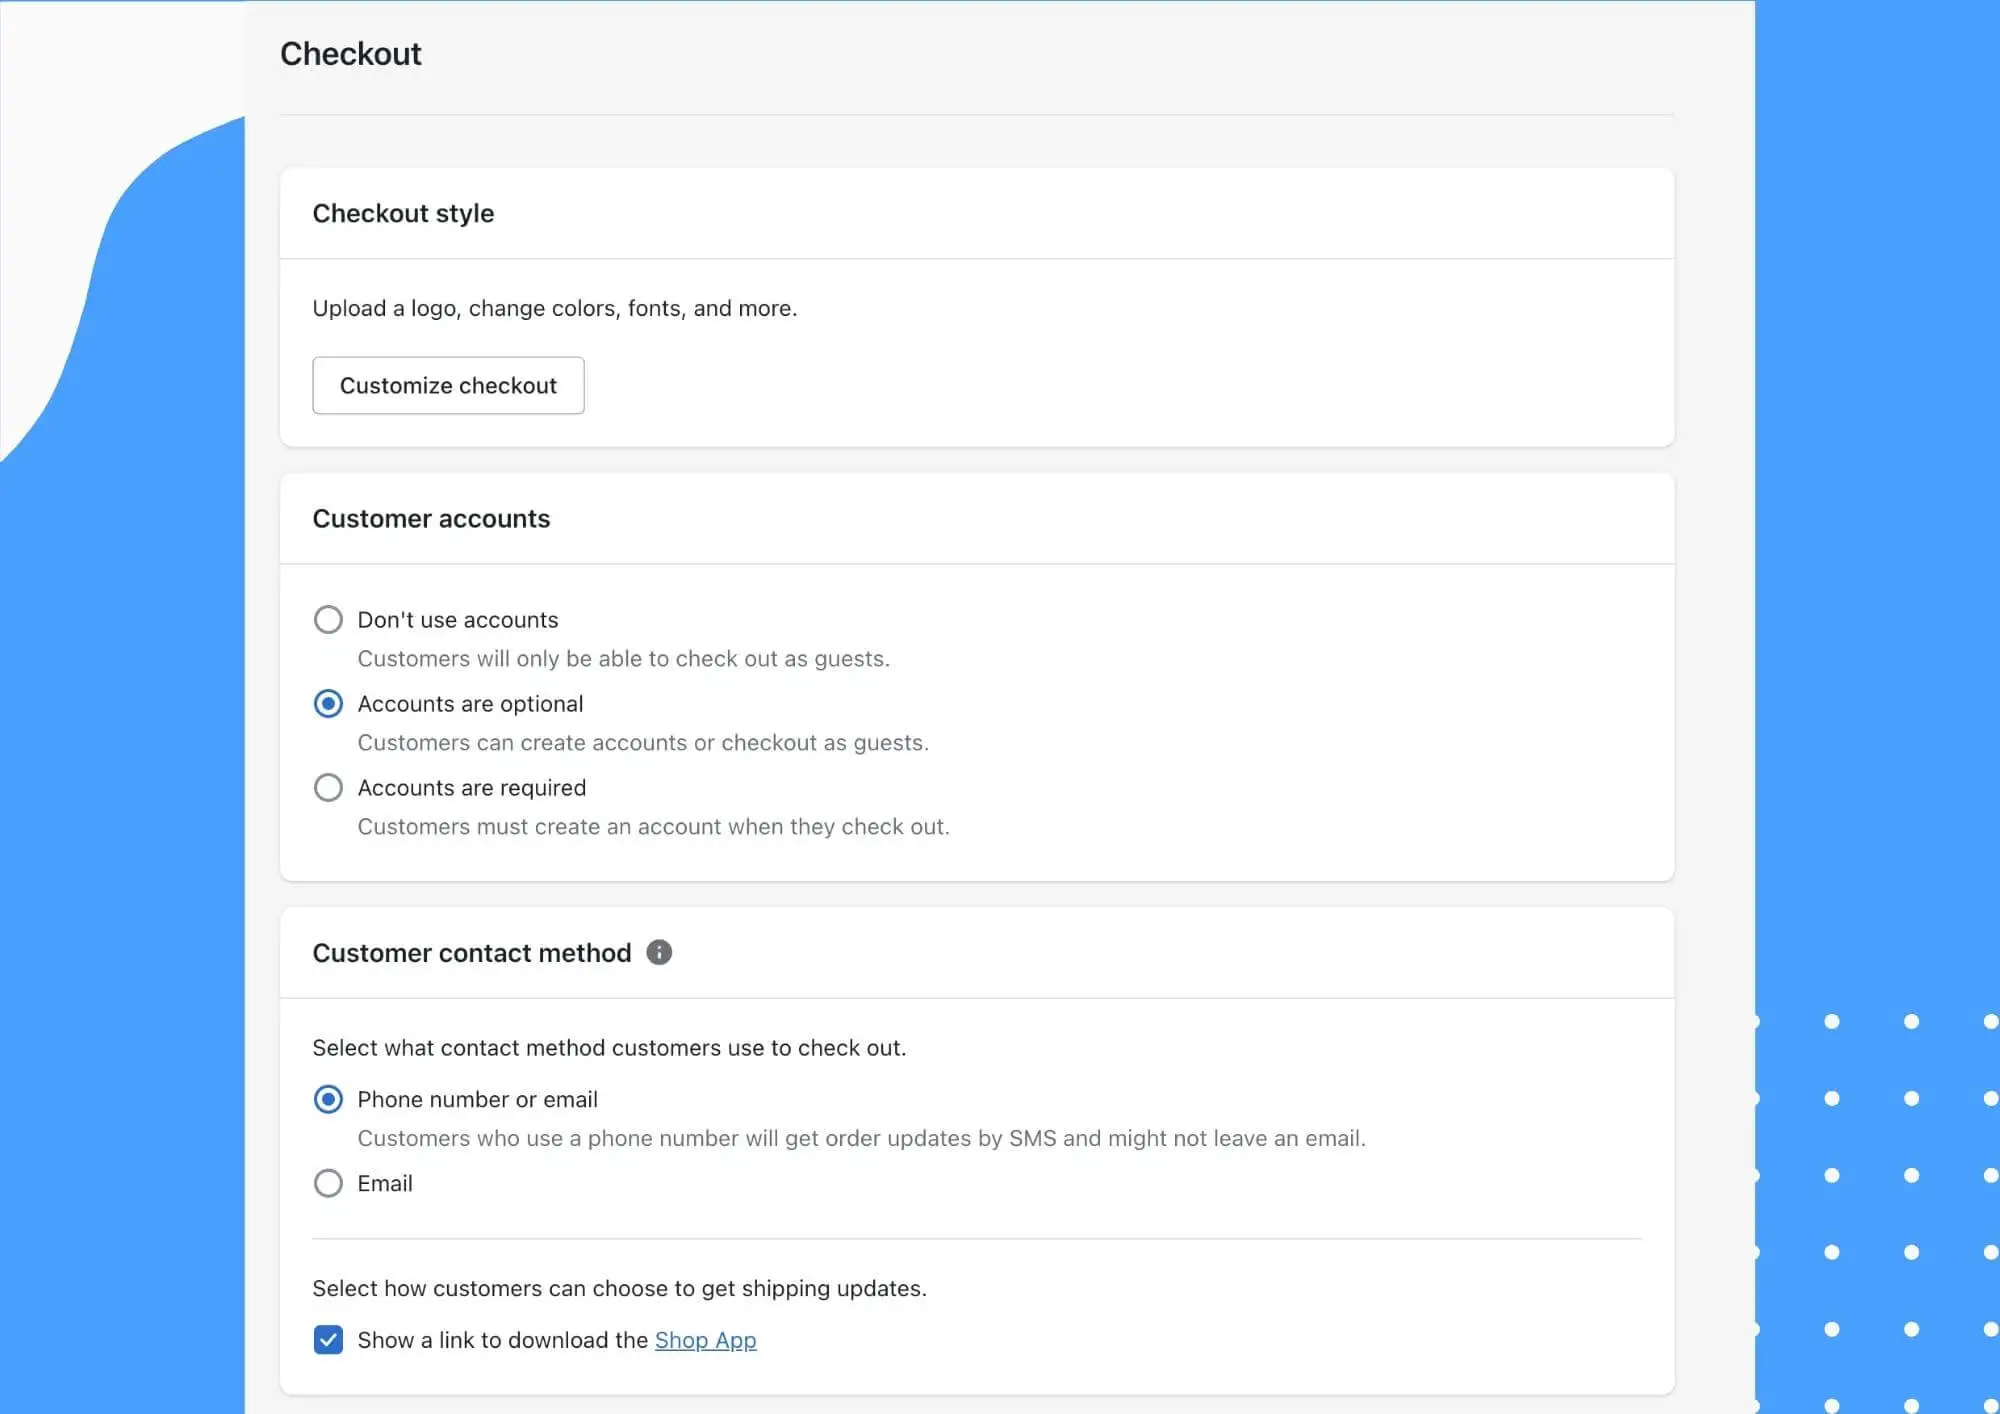
You'll find a section called Checkout and accounts within Shopify's settings (Shopify Admin > Settings > Checkout and accounts). Here, you can choose how to allow customers to checkout from your store. For example, you can select what pieces of information a customer must provide to complete checkout.
Finally, you'll need to understand how you will receive your payouts. If you use Shopify Payments on your store, Shopify can direct deposit your payouts into your bank account. If you use another payment processor, like Stripe, you will receive payouts directly from them instead of Shopify.
Configure Settings for Taxes and Duties
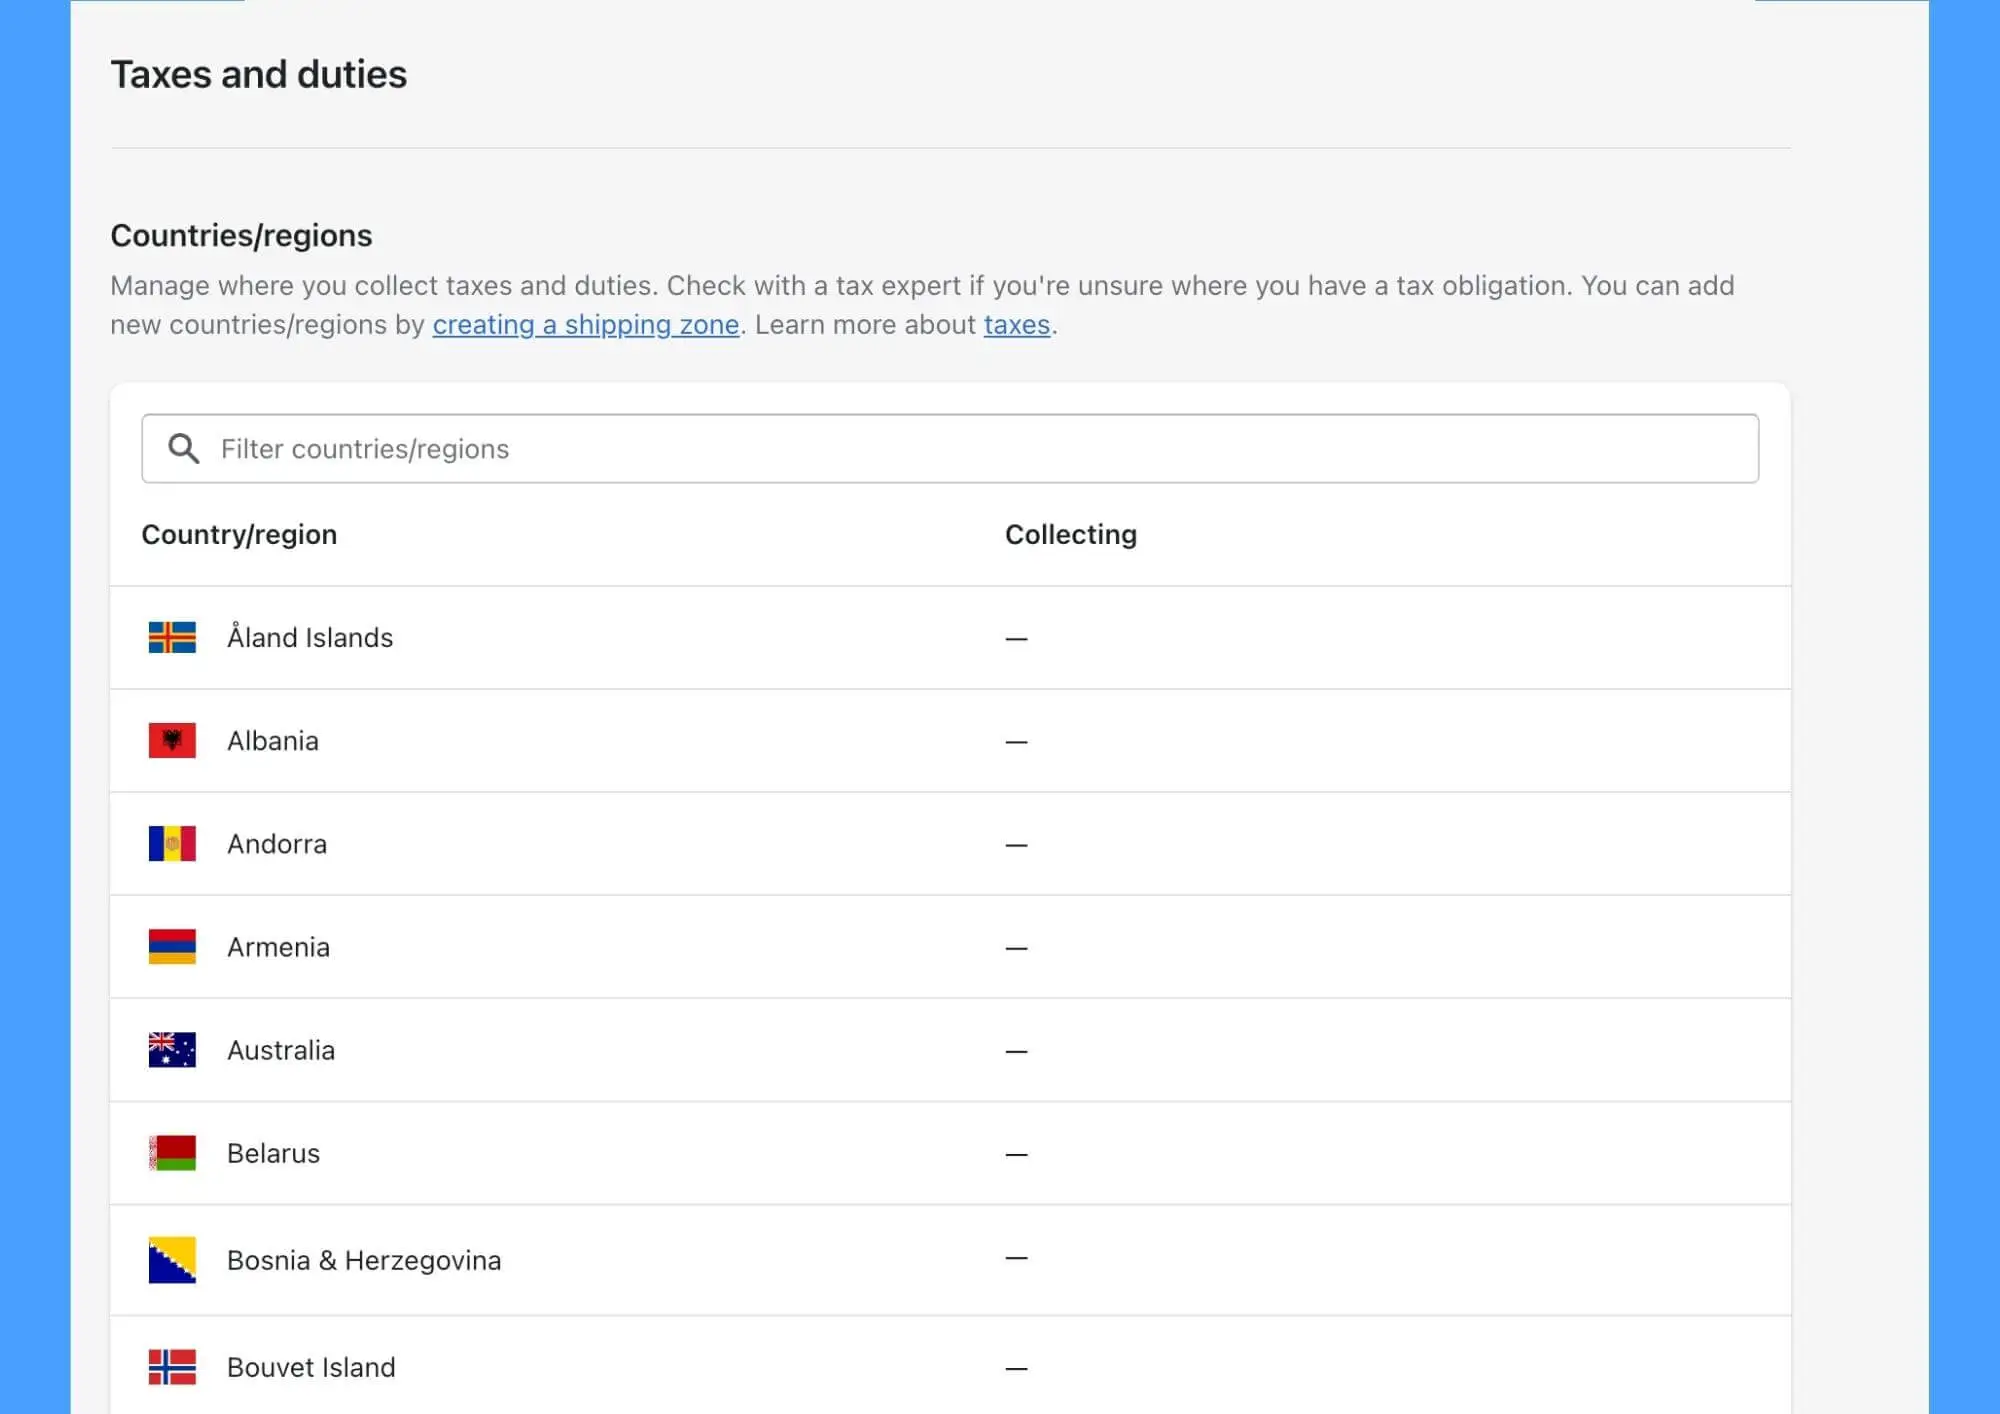
Depending on your business and where you're selling your products, you may need to collect taxes and duties. You can find these settings under the Taxes and duties section in Shopify. You can configure the tax settings for each country and region where you do business.
I highly recommend working with an experienced tax professional to ensure you configure these settings appropriately for your business.
Subscribe to a Shopify Plan
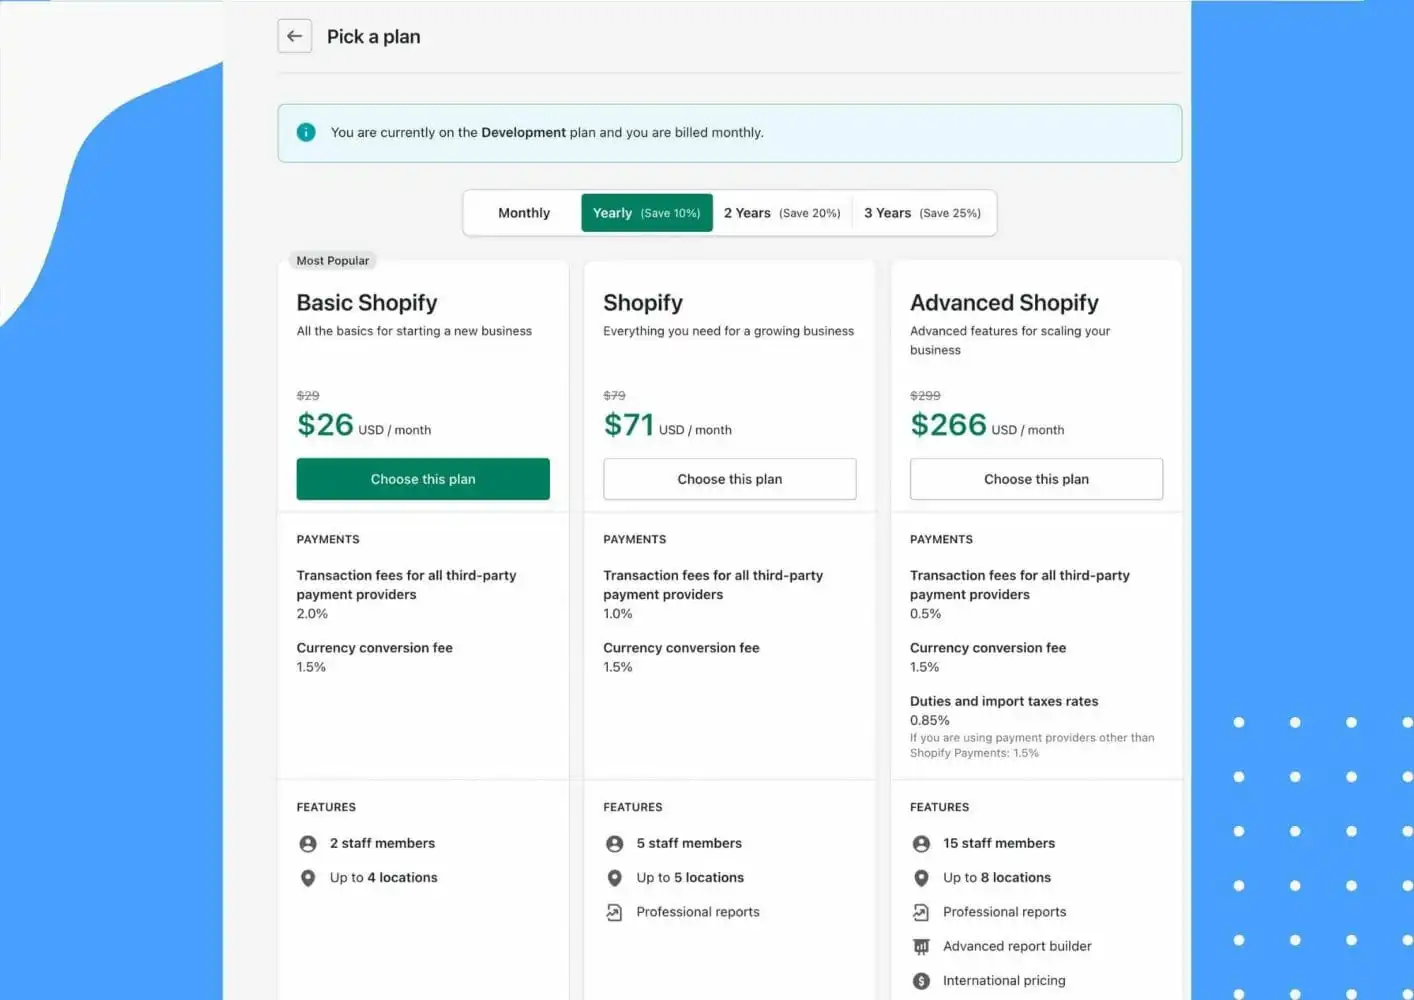
Lastly, you'll need to remove the password protection on your store. To do this, you must subscribe to one of Shopify's paid plans.
Shopify offers three paid plans:
- Basic: $29/mo
- Shopify: $79/mo
- Advanced: $299/mo
Once you've subscribed to a Shopify plan, head to your Shopify Admin dashboard. From there, look under Sales Channels in the left navigation pane and click Online Store, then Preferences. On this page, scroll to the Restrict store access section, and make sure the checkbox next to Restrict access to visitors with the password is unchecked.
After removing the password protection, your Shopify store will be live and accessible to all customers.
Your Shopify Store is Live! What's Next?
Congratulations! You've now created and launched a Shopify store! Your next focus is driving customers to your store to buy your products. To help you with that, here are 6 proven ways you can promote your ecommerce store.

